The Ceiling Coordination Problem

Ceiling Coordination ● Architectural Detailing

August 28, 2026

A beautifully resolved ceiling depends on far more than what appears on the reflected ceiling plan. This article explores how architects can bring lighting, sprinklers, diffusers, access and other building services into the design conversation earlier - creating clearer layouts, fewer construction compromises and a more considered result overhead.

 PROJECTS LOOKBOOK ⇩

How to stop building services compromising a beautifully resolved ceiling...

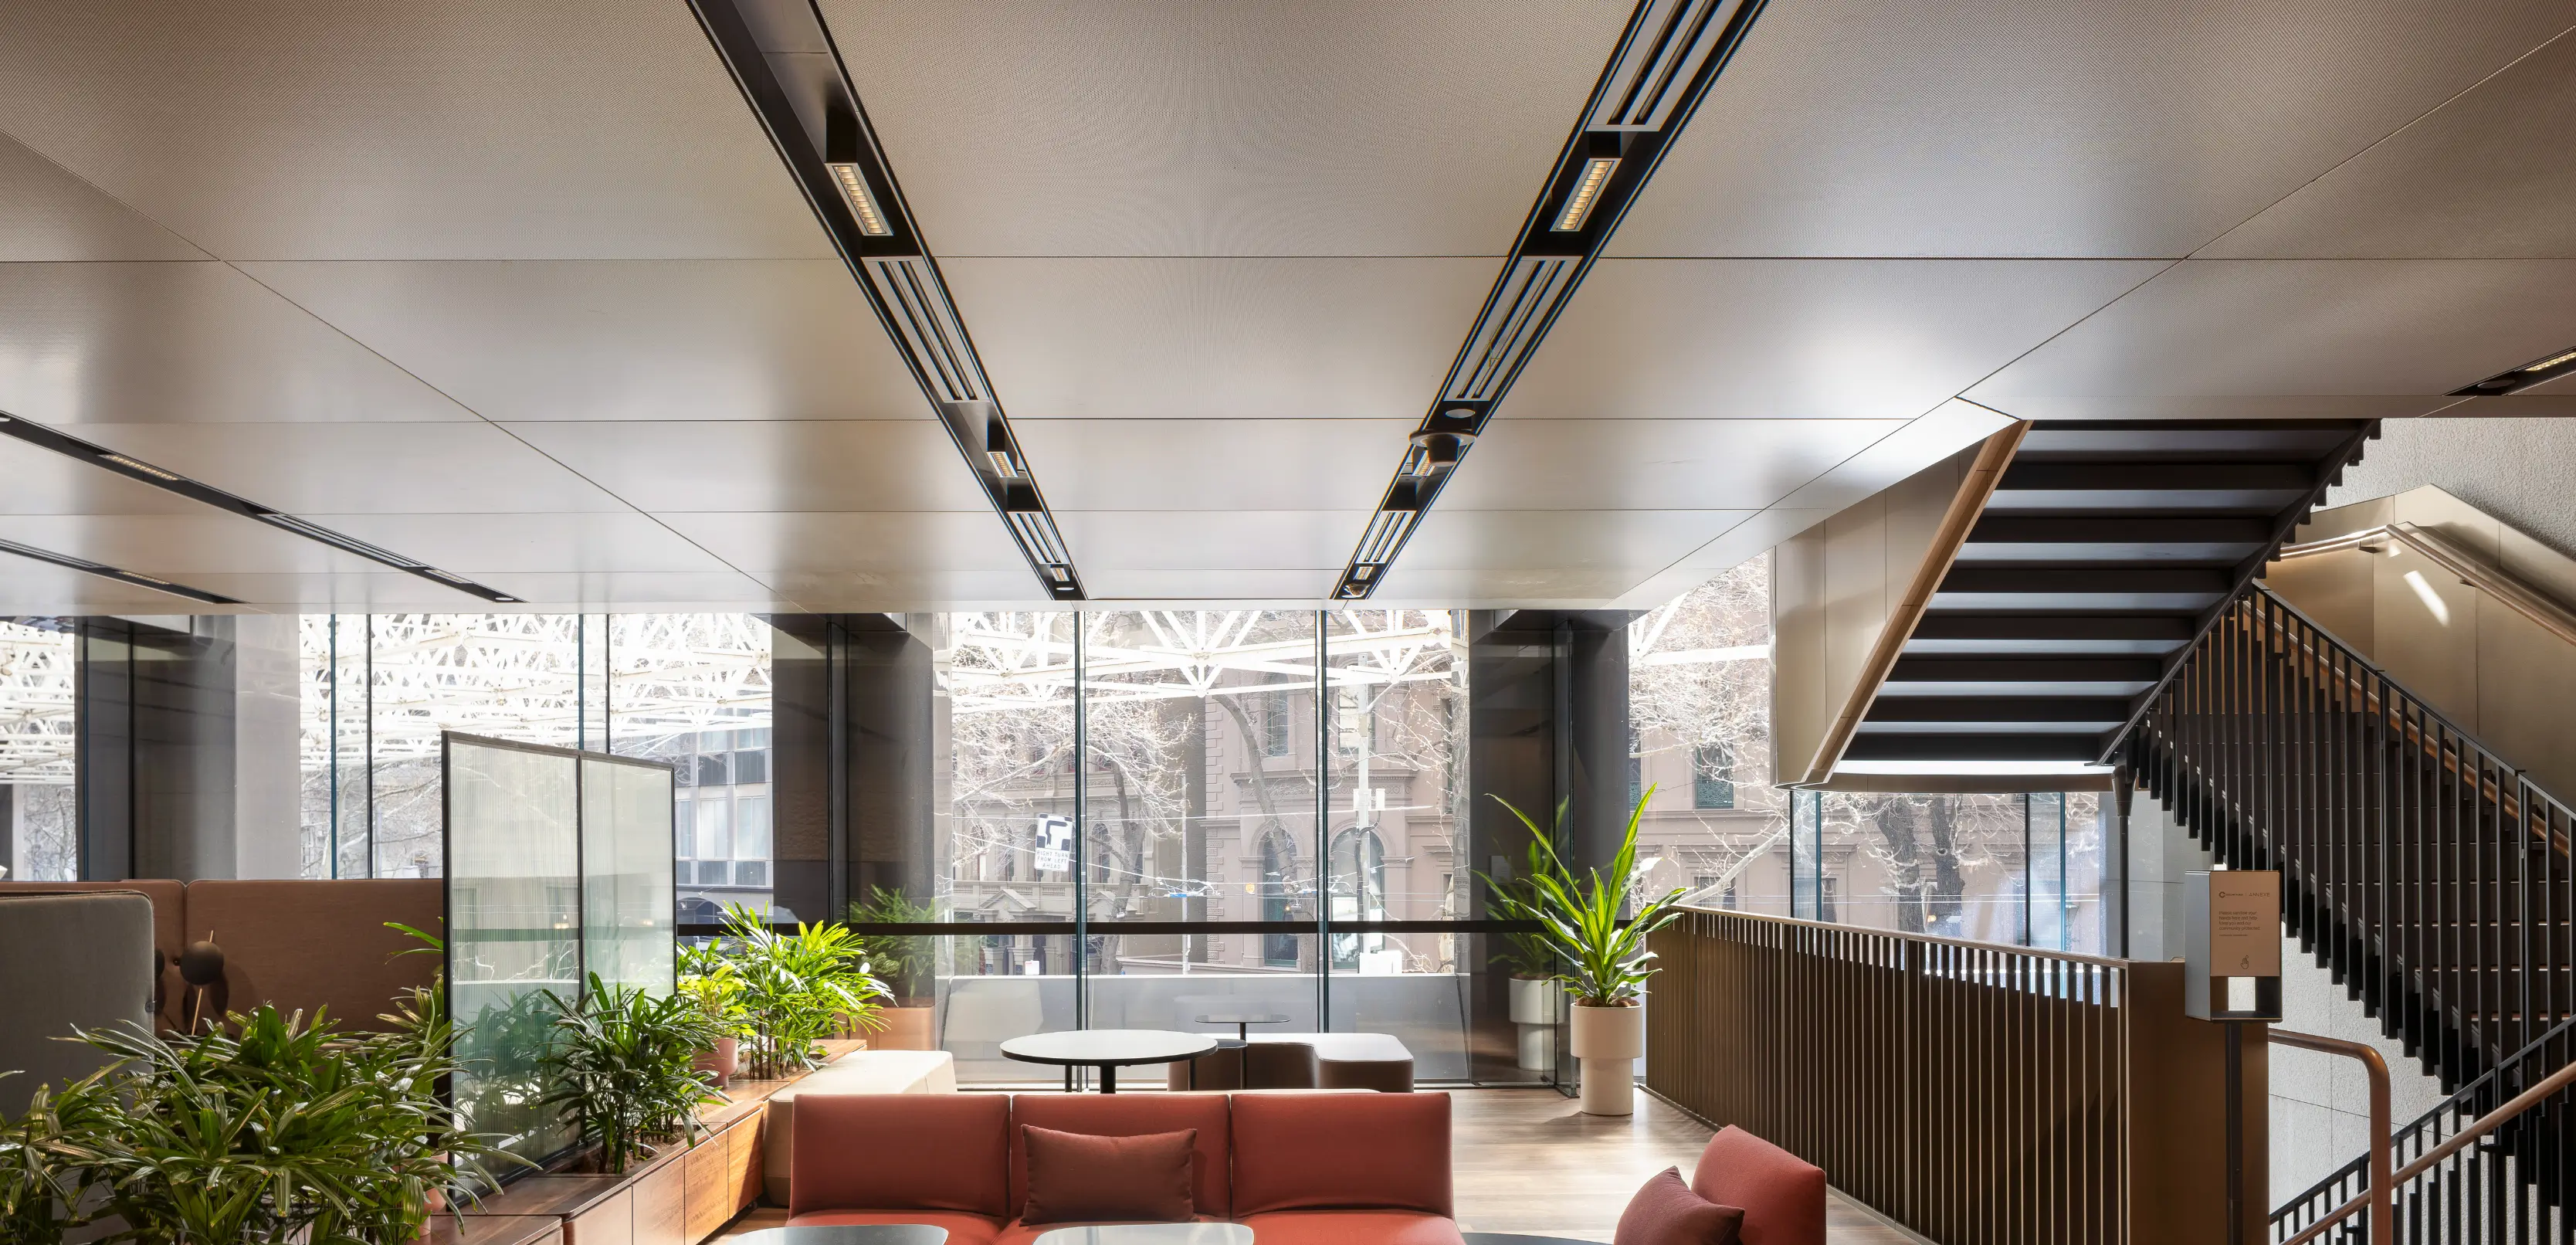
A ceiling may begin as a clear architectural surface, but it rarely stays that way for long. Lighting, sprinklers, speakers, detectors, diffusers, cameras, signage and access panels all need space within the same overhead plane.

Without early coordination, even a strong ceiling concept can become fragmented by the services it is expected to accommodate.

The issue is not the number of services. It is whether the ceiling and its services have been designed as one system.

This guide looks at the decisions architects and designers can make early to protect the visual intent of a ceiling, simplify coordination and create an outcome that feels deliberate from every angle.


Why ceiling coordination becomes difficult

The reflected ceiling plan sits at the intersection of architecture, services, structure and construction. Each discipline brings its own requirements:

❍ Lighting needs the right position, output and access.

❍ Mechanical services need sufficient air distribution and plenum space.

❍ Fire services must meet coverage, clearance and compliance requirements.

❍ Acoustic treatments need enough area and depth to perform.

❍ Access panels must reach equipment that will require inspection or maintenance.

❍ The ceiling system needs a workable module, suspension layout and perimeter condition.

Each requirement can be resolved independently and still produce an unresolved ceiling.

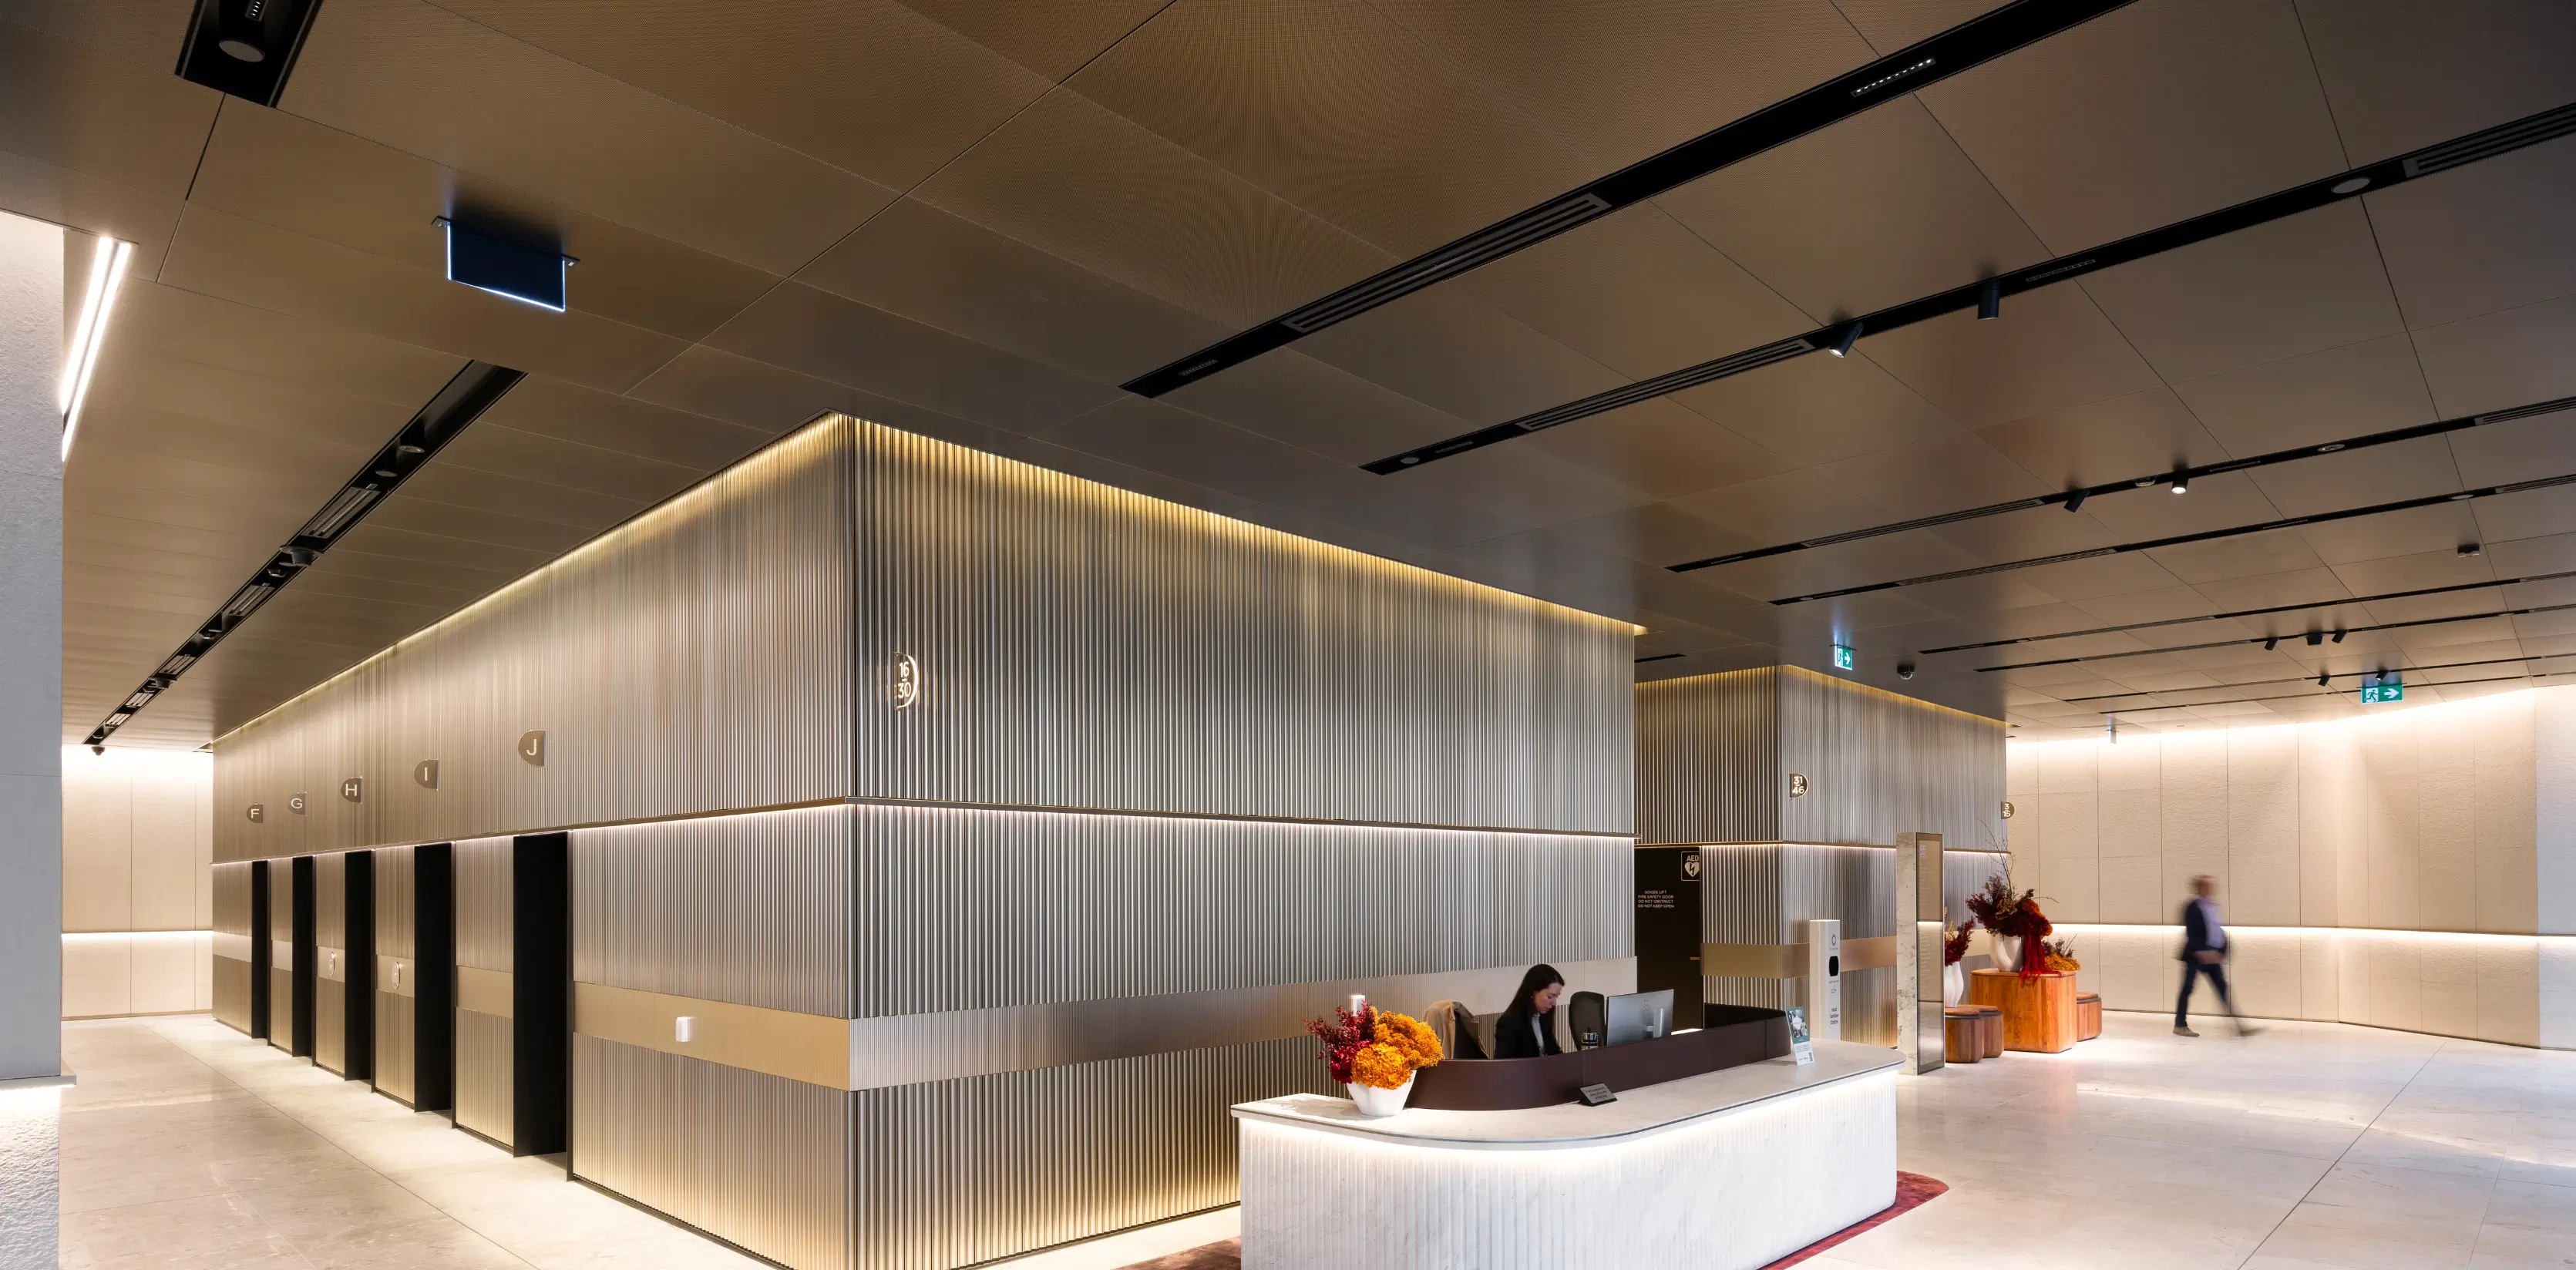
The most successful outcomes come from treating services as part of the architectural composition from the beginning — not as items to be placed once the ceiling design is already fixed.

Start with a hierarchy, not a layout

Before locating individual services, decide what the ceiling needs to do visually.

Is it intended to read as a continuous plane? Establish direction through linear elements? Create a strong grid? Filter views into the plenum? Conceal services entirely? Or deliberately expose and organise them?

This establishes a hierarchy. The primary architectural rhythm should lead; services should then align with, sit within or respond to it.

Without that hierarchy, every ceiling element competes equally for attention. A downlight, sprinkler, access panel and air diffuser may all be technically correct, yet together create visual noise.

A useful early question is:

Which elements should disappear, and which should become part of the design?

Not every service needs to be concealed. But every visible service should feel intentional.

Set the module before the services

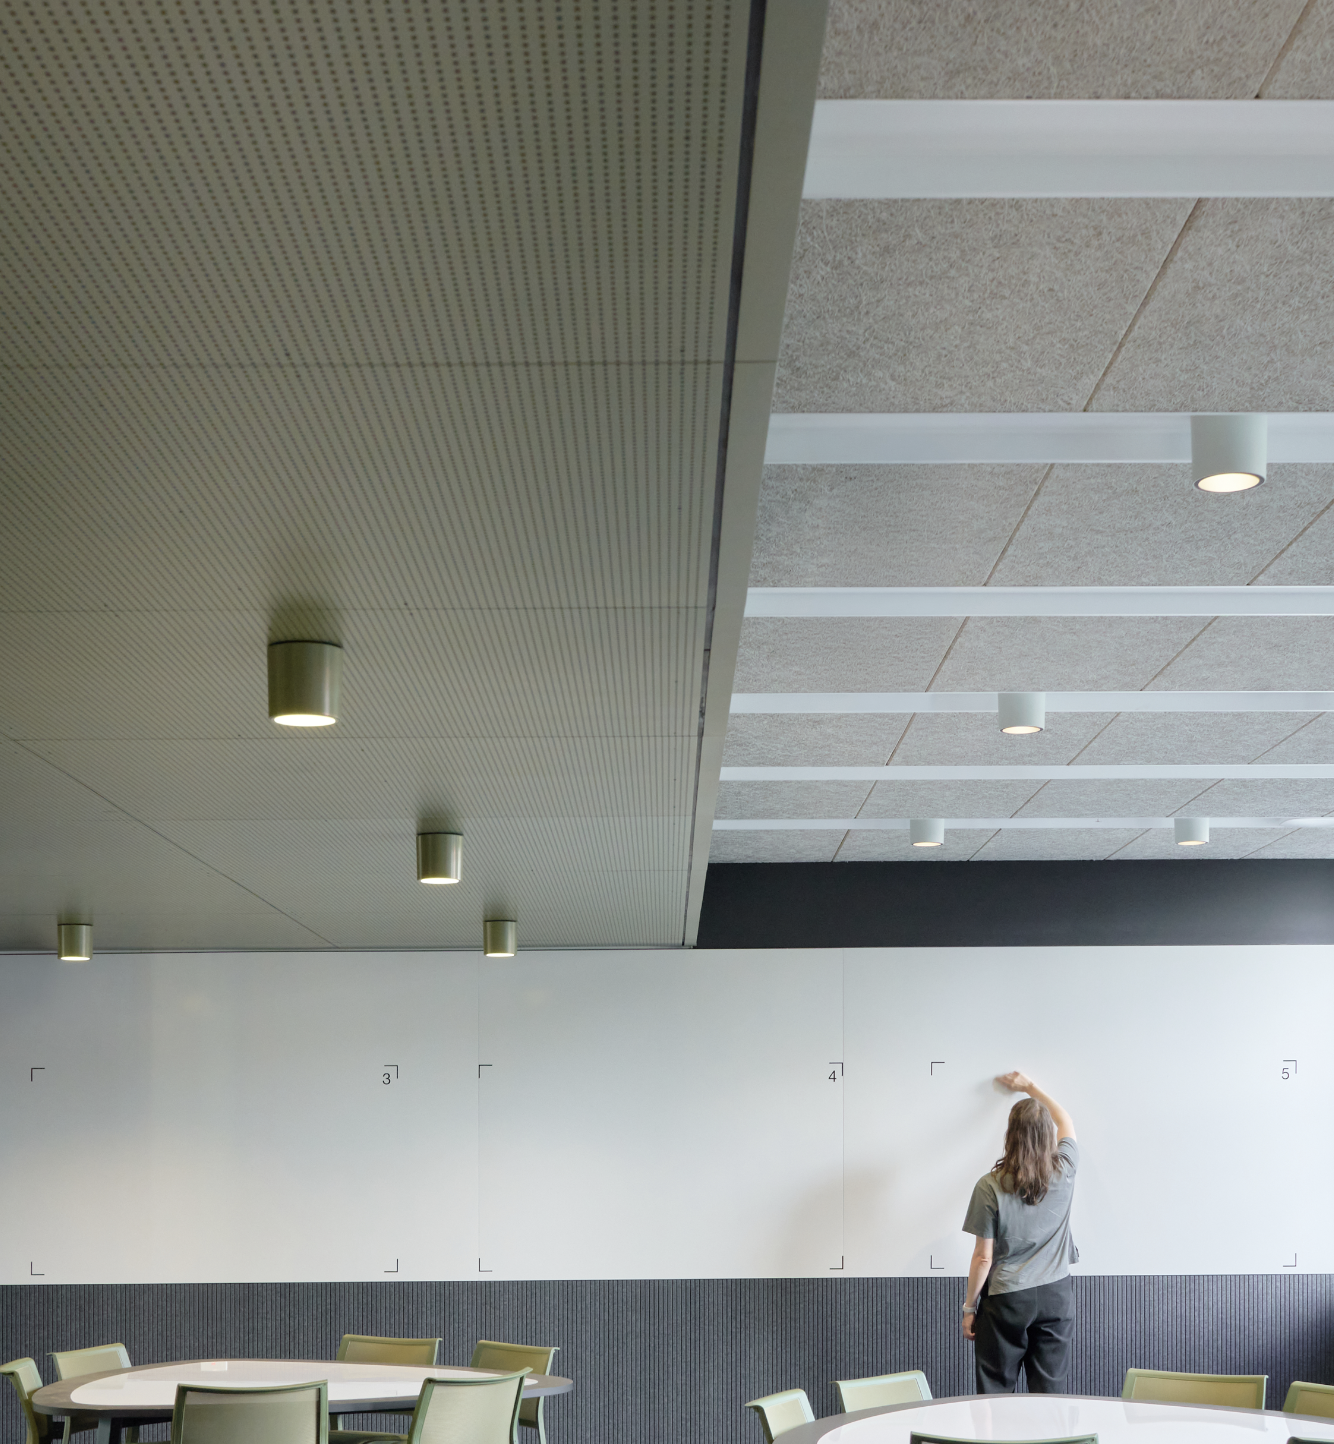
Whether the ceiling uses battens, panels, tiles, mesh or an open cell grid, its module becomes the organising framework for everything around it.

Establishing that module early allows services to be coordinated with centres, joints, openings and repeated lines. It also helps identify conflicts while they can still be resolved on paper.

The module should be tested against:

  • Room dimensions and perimeter cuts.
  • Corridor and doorway alignments.
  • Lighting spacing.
  • Mechanical grille and diffuser sizes.
  • Sprinkler coverage.
  • Acoustic performance.
  • Access requirements.
  • The suspension or support system above.

This is particularly important for linear ceilings. A small change to batten centres can affect where lights, sprinklers and access points can sit across the entire space. Likewise, an open cell grid that appears flexible may still require careful coordination to avoid awkward interruptions or partial cells.

The objective is not to force every service into a perfect geometric pattern. It is to create enough underlying order that necessary variations do not feel accidental.

Decide where services belong

There are three broad ways to integrate services into a ceiling.

1. Within the ceiling plane

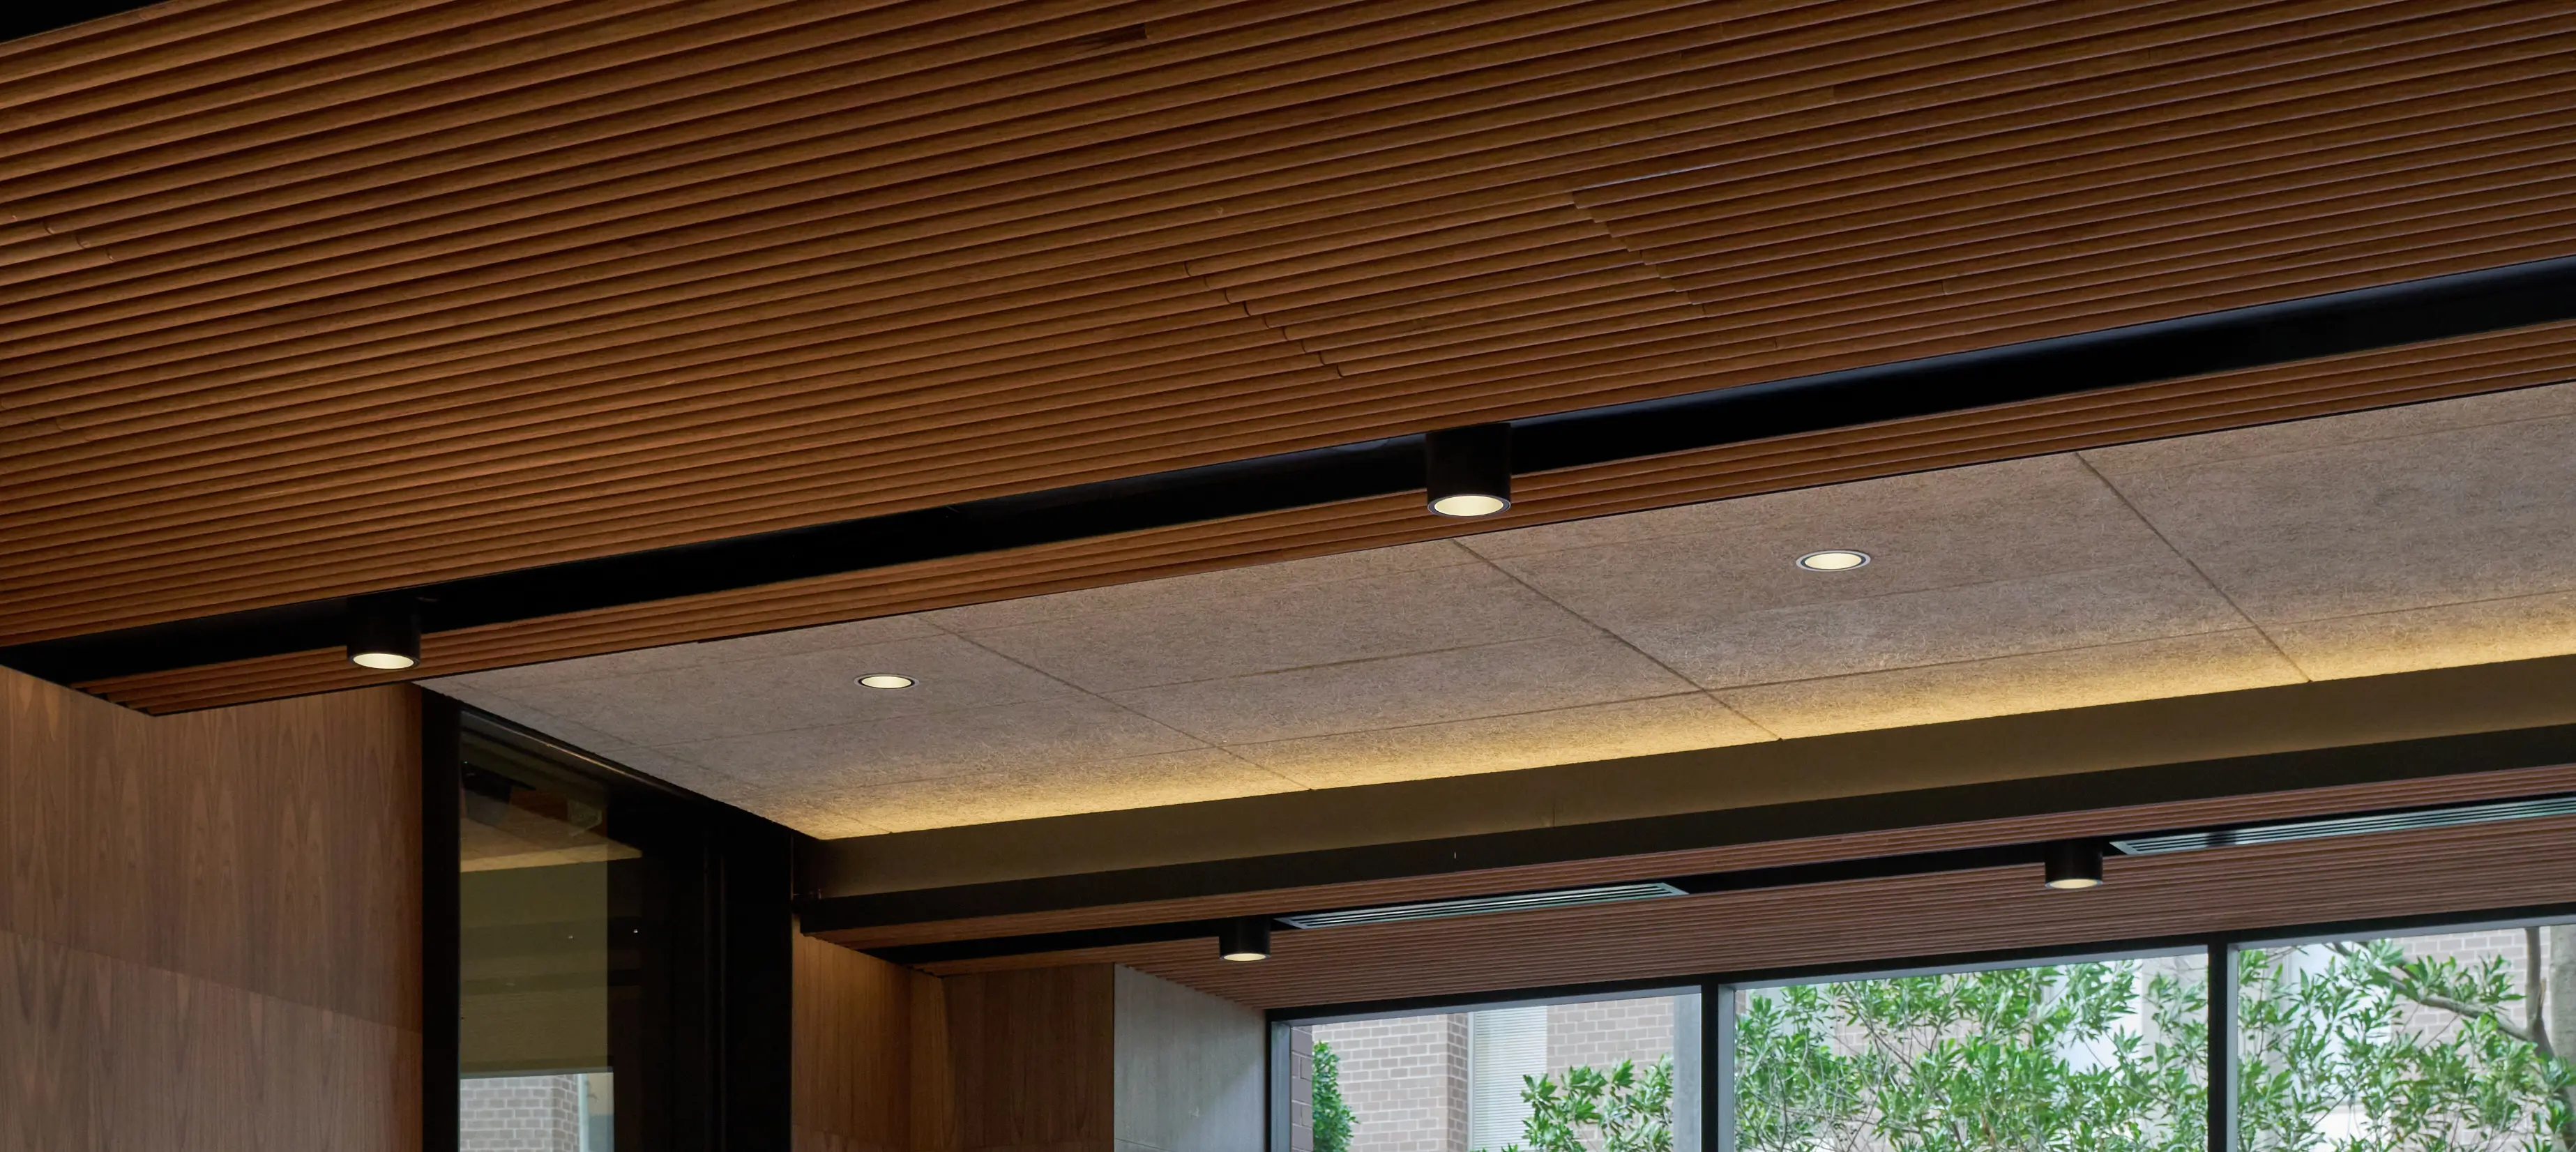
Services are mounted directly within panels, between battens or inside the ceiling module.

This can create a clean and consistent result, particularly when the service dimensions correspond with the ceiling geometry. It also demands accurate set-out and close coordination between trades. Penetrations, cut-outs and clearances should be resolved before manufacture wherever possible.

2. Above a visually open ceiling

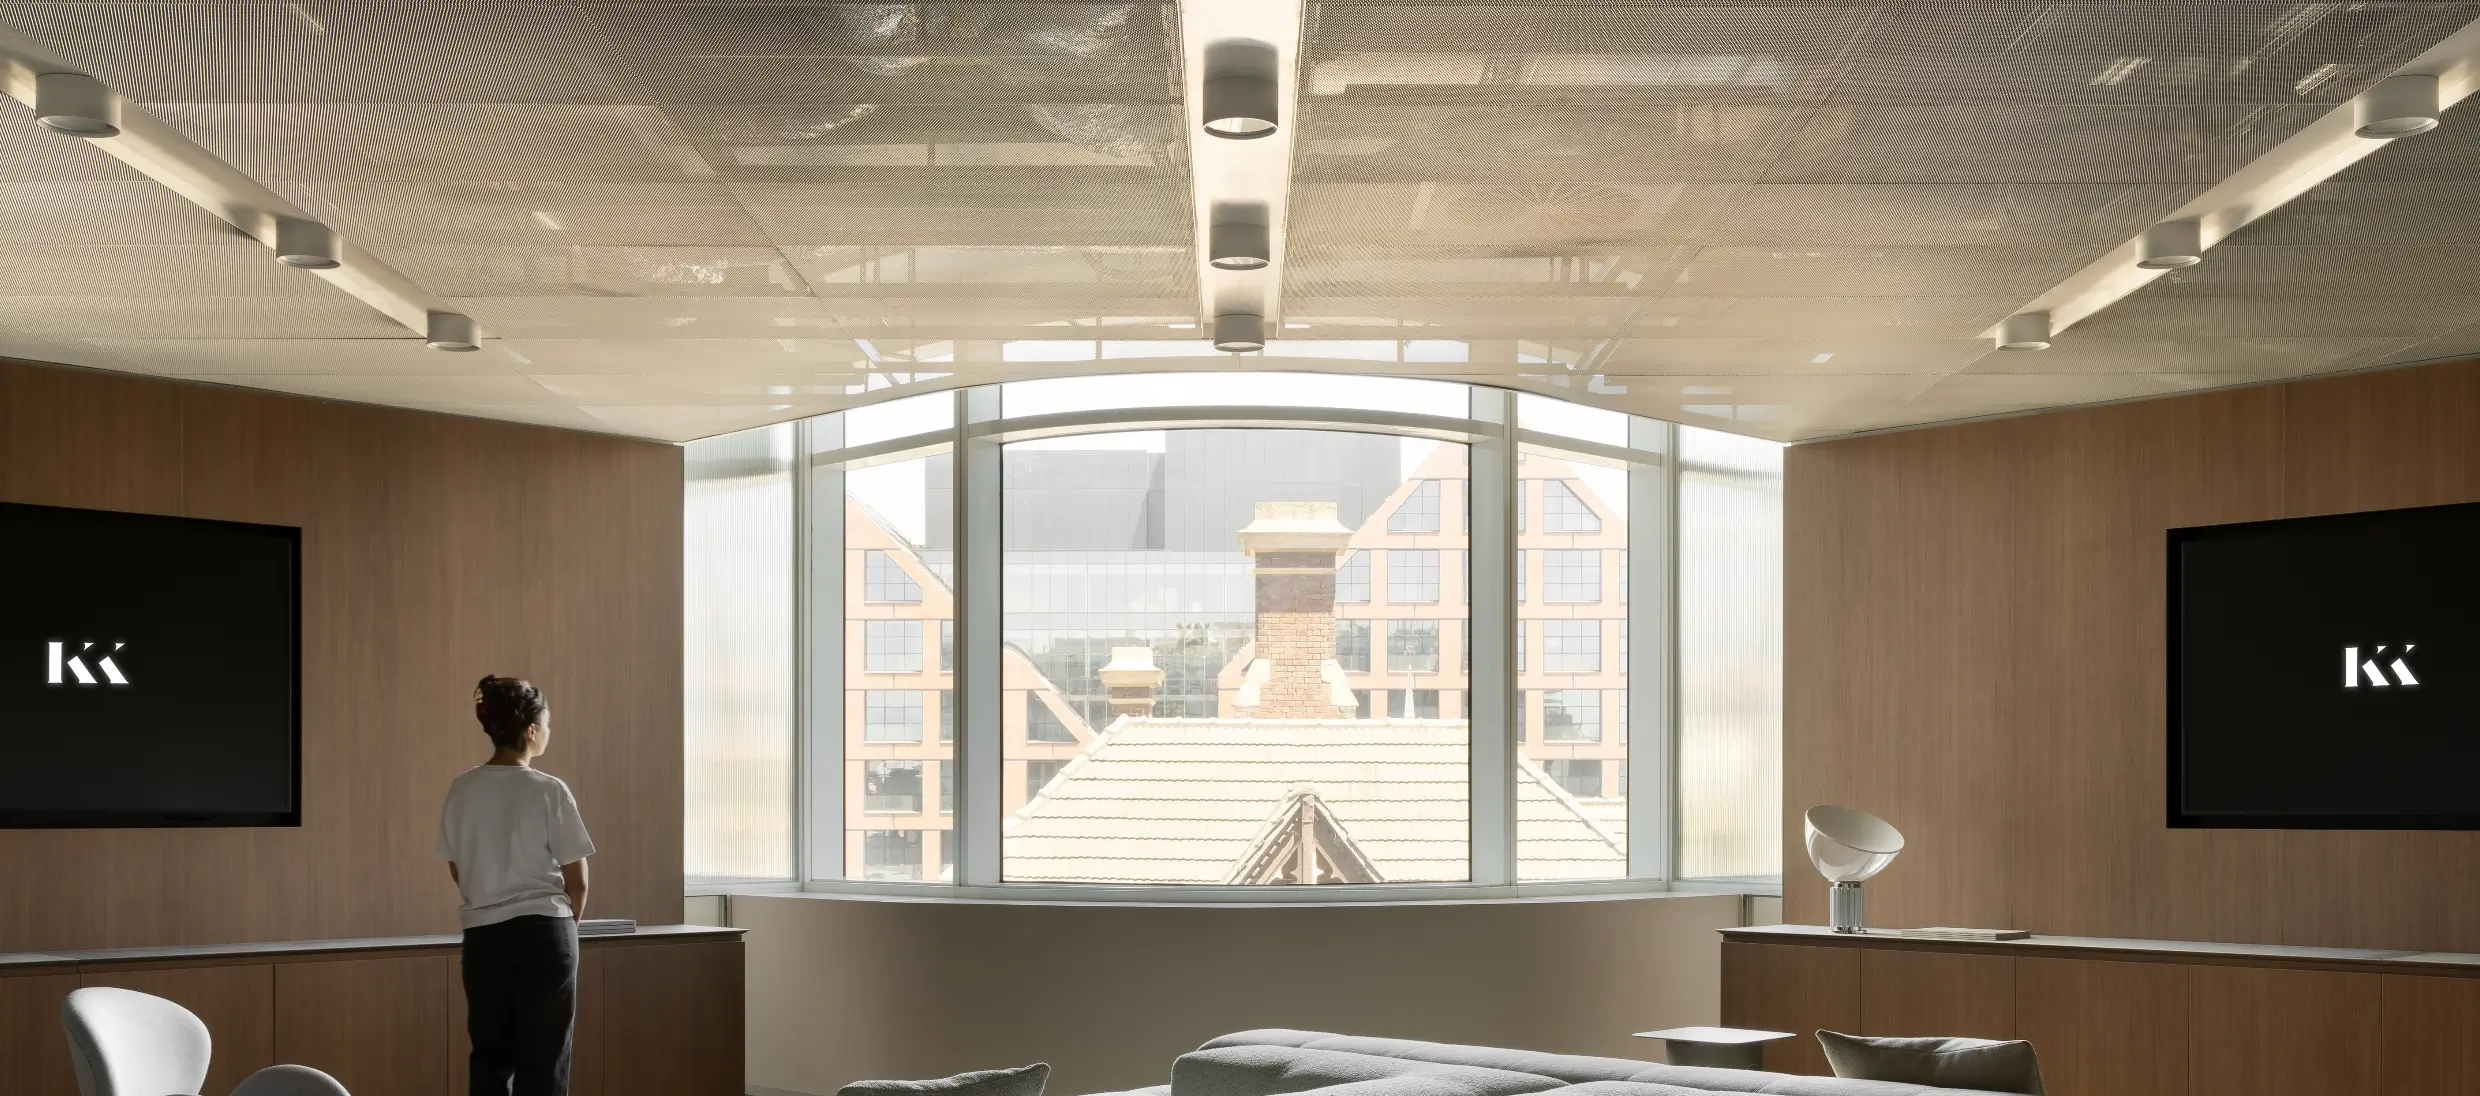
Open cell and expanded mesh ceilings allow services to remain in the plenum while the ceiling provides a filtered visual layer below.

This can reduce the need for individual penetrations, but it does not make coordination disappear. Viewing angles, open-area percentage, ceiling height, lighting position, service colour and acoustic backing all affect how visible the plenum becomes.

A darkened soffit and coordinated services can visually recede. Uncoordinated white pipework or reflective ductwork can become more prominent than expected — especially when seen across the ceiling at a shallow angle.

3. Within a dedicated service zone

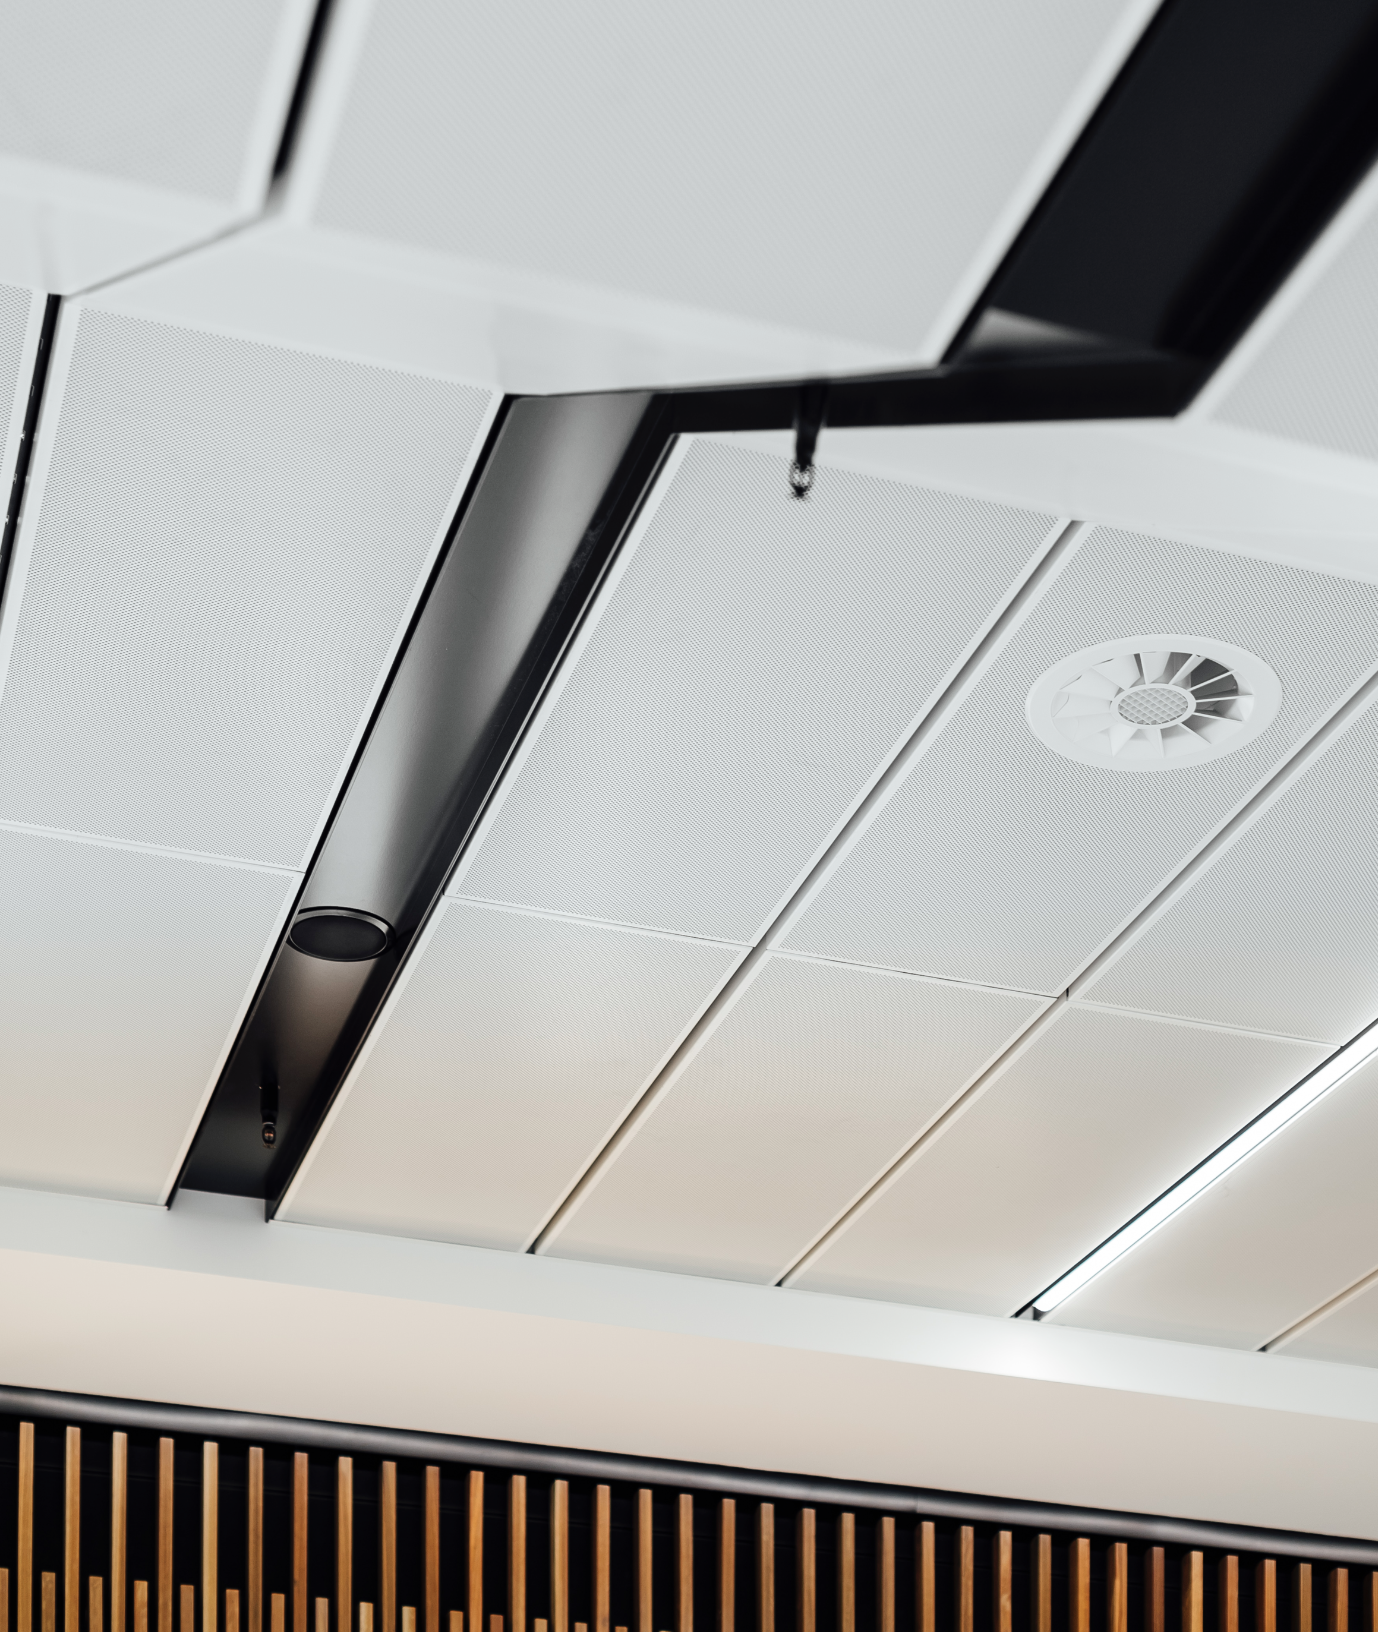
A linear service zone or service trough consolidates lighting, sprinklers, speakers, detectors and other components into a defined band.

This allows the surrounding ceiling to remain visually uninterrupted while giving consultants and contractors a clear location for service integration. It can be particularly effective with linear batten ceilings, where the trough runs with the direction of the system and reinforces its geometry.

The trough should still be considered as an architectural element. Its width, spacing, finish and relationship to the ceiling module will determine whether it reads as a deliberate line or a late addition.

Resolve the perimeter early

Coordination often concentrates on the centre of the ceiling, but the perimeter is where dimensional compromises become visible.

Wall conditions are rarely perfectly uniform. Columns, glazing, bulkheads, curved walls and changes in ceiling level can all disrupt the set-out. If the module is established without testing these edges, the finished ceiling may end with narrow cuts, inconsistent gaps or unresolved junctions.

Perimeter decisions should consider:

❍ Whether the ceiling terminates with a full or cut module.

❍ The width and consistency of shadow lines.

❍ How tolerances will be absorbed.

❍ Where services sit in relation to the edge.

❍ Transitions between ceiling types.

❍ Access to perimeter-mounted equipment.

A clean field of battens or panels cannot compensate for an awkward edge. The perimeter is part of the system, not simply where it stops.
Make access part of the design

Access requirements are easy to underestimate because they are not always visible in early design imagery. Once mechanical equipment, valves, controls and connection points are coordinated, however, access may have a significant impact on the ceiling.

The first step is to challenge where access is genuinely required. Equipment may be repositioned to a nearby service zone, corridor or removable section. Where access must remain within the feature ceiling, it should align with the module and use the same material language wherever practical.

Large, generic access panels placed late in documentation can interrupt rhythm, finish and alignment. A removable panel, demountable batten section or integrated access solution will usually feel more resolved — but it needs to be designed with the ceiling, not improvised during installation.
Coordinate in three dimensions

A reflected ceiling plan can show where a service sits, but not always whether it can physically coexist with the ceiling system and the infrastructure above it.

Depth matters.

Suspension rods, carriers, ductwork, cable trays, hydraulic lines, light fittings and acoustic insulation may all occupy the same vertical zone. A service can appear perfectly aligned in plan while conflicting with a carrier or lacking the clearance needed for installation and maintenance.

Sections, coordinated models and representative ceiling details should be used to test the full build-up. This is especially important around:

  • Changes in ceiling level.
  • Deep light fittings.
  • Linear diffusers.
  • Bulkheads and curtain tracks.
  • Operable walls.
  • Access panels.
  • Areas with restricted plenum depth.

The more complex the ceiling, the less likely it is that plan coordination alone will be enough.

Use mock-ups to test what drawings cannot

Drawings can confirm dimensions and alignment. They are less effective at showing how the ceiling will read from the floor.

A physical or full-scale visual mock-up can test:

  • Service visibility through mesh or open cell systems.
  • The apparent width of gaps and shadow lines.
  • How integrated lighting affects surrounding finishes.
  • Whether access panels remain visually discreet.
  • The relationship between profiles, joints and penetrations.
  • How the system performs from key sightlines.

For project-specific details, mock-ups also allow architects, services consultants, contractors and installers to resolve the same condition together before it is repeated across the project.

What should be resolved before tender?

Not every fixing and penetration needs to be finalised before tender, but the design rules should be clear.

At a minimum, documentation should establish:

  • The ceiling module, direction and set-out origin.
  • The intended hierarchy of visible elements.
  • Nominated service zones or integration principles.
  • Typical service locations and cut-out requirements.
  • Perimeter and transition details.
  • Access strategy.
  • Ceiling depth and suspension allowances.
  • Acoustic and fire-performance requirements.
  • Responsibilities for final coordination.

Leaving these decisions until shop drawing stage does not preserve flexibility. It transfers design decisions into a compressed period when product selections, service layouts and construction programmes are already harder to change.

A resolved ceiling is a coordinated ceiling

The cleanest ceilings are rarely the simplest. They are the result of many competing requirements being considered early, organised around a clear architectural idea and carried through technical development.

Good coordination does not mean hiding every service. It means giving each element a logical place within the overall composition — whether integrated into the ceiling plane, filtered behind an open system or consolidated into a dedicated service zone.

When the architecture, services and ceiling system are developed together, the result feels calm, precise and intentional.

That is the difference between a ceiling that has accommodated services and one that has truly resolved them.
Ceiling layout and module
Perimeters and transitions
Documentation and construction
Lighting and building services
Access and maintenance

Final coordination check

Before release for construction, review the ceiling from three perspectives: plan, section and sightline.

The plan should confirm alignment and set-out. The section should confirm that everything physically fits. The sightline should confirm that the finished ceiling will read as intended from the spaces below.

If all three are resolved, the ceiling is far less likely to rely on compromises during installation.

Ceiling void and structure
Open and permeable ceilings

Request Samples

Materials tell their story best in person. Colour, texture, reflectivity and finish can behave very differently on screen than they do in the built environment, which is why physical samples are such an important part of the design and specification process.

Request a physical sample here and our team will take care of the rest.

In a hurry? Pick up the phone and speak directly with our Australian-based team on 03 9580 7800.

Our architectural team is here to collaborate on ideas, materiality and budget from day one. Drop us a note at hello@mbsarchitectural.com.au or call 03 9580 7800 to start the conversation.

Every material.one source.

Let's bring your project to life.